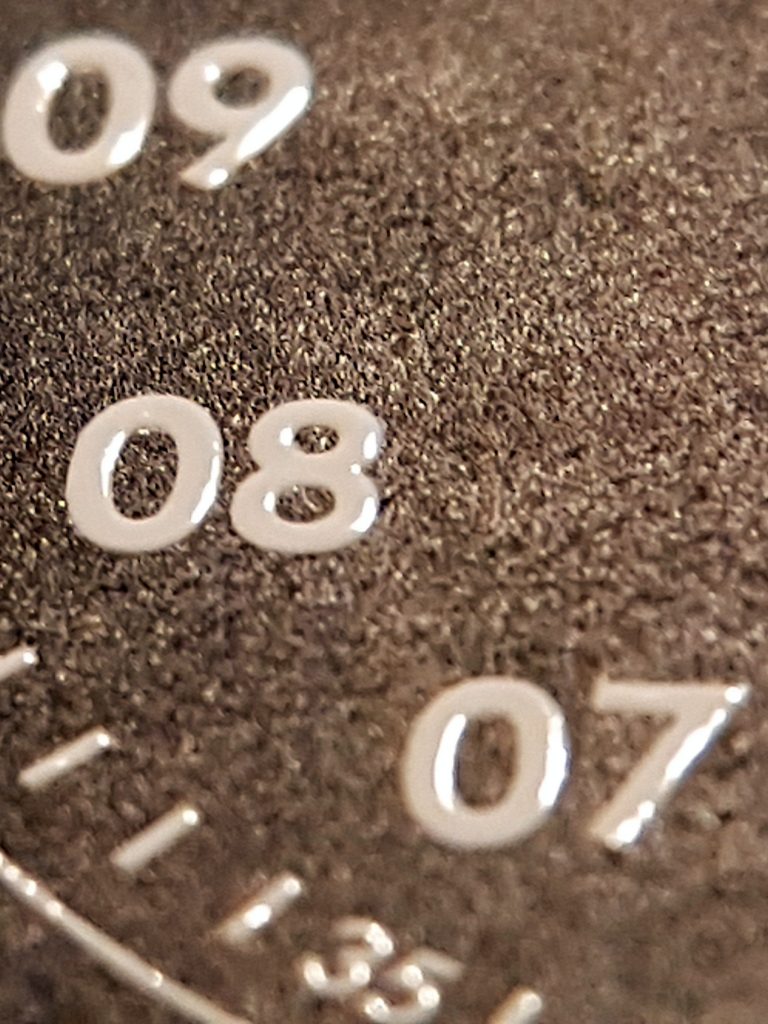
How to print a dial.

To help you understand what we do, we have prepared a short summary of the steps involved.
- Prepare and paint the dial
- Create the artwork
- Create the film to make the plate
- Make a plate
- Put ink on plate
- Use silicone pad to lift the ink from plate and place on a dial.
Piece of cake, right?
Yes – except for a few things. NONE of these steps are “cookie cutter”. They all take time to research and refine and, as far as we know, there are at least two pieces of IP that are unique to us.
- Prepare and paint the dial.
This must be done in an environment where the dust is excluded and operator ventilation is also supplied. There is usually primer and a number of top coats applied. Get it wrong and you start again.
And remember, black is not just black and white is not just white. - Create the artwork
Pretty straight forward but it must be in Vector form, so think something like Inkscape, Adobe Illustrator and Affinity Designer. - Create the film to make the plate
We use industry quality typographic printers.
This produces a film that has the image inside the emulsion. It is not produce toner or ink that is deposited on the outside of the film like you get with a standard office laser or inkjet.
The image needs to be a solid black to get sharp images and the image needs to be able to be held hard against the plate with the vacuum. The “bump” of the ink or toner on an image from office lasers just lets the photons in from everywhere and a terrible plate is the result. - Make a plate
This part is nearly as difficult as all the rest put together.
This requires purpose built lighting and a good vacuum system which is not cheap.
Fluorescent tube exposure units and the artwork held against the plate with bulldog clips just does not work for this level of sophistication. I know because I have tried. - Put ink on plate
Pretty straight forward. We use the technique shown on many videos where a small amount of ink (it is a specific pad printing ink by the way and it is not paint) is placed on the plate and then wiped off with a blade. - Use silicone pad to lift the ink from plate and place on a dial.
Pretty straight forward but I also use a stereo microscope to ensure the dials and plate are aligned correctly. This is needed because we do many different designs.